Showing posts with label assessment. Show all posts

Thursday, February 12, 2015

Editing Checklist

Editing is one of the more challenging writing skills. If we're looking at Moffet's hierarchy of student thinking, this is asking students to reach their highest and most abstract level of knowledge - grammar - and apply it to their own or a peer's writing. This is an incredibly difficult task! If your students are like mine, this is complicated by the fact that they're not knowledgeable of the rules of grammar or of formal writing.

Last year, I wrote and started implementing my own editing checklist. As students follow the directions, it walks them through editing their own papers. They can also use the checklist on a peer's paper to provide them with editing suggestions.

A small portion of the editing checklist
You can access the file from my dropbox.

To scaffold this, I start the year by creating in-class stations. I set up a commonly confused word station, a paragraph station, an MLA station, and more. I might add stations based on our specific focuses for that paper (thesis, formal language, organization, etc.).

As the year progresses, I move to having students do this on their own, but still requiring them to turn in their completed checklist with their essay.

I have gotten rave reviews from students about this editing checklist, including having a handful of graduates tell me they still use it in college. I also see how much this process improves the mechanics from the first to the second draft, and having students do those corrections themselves gives me much more time to focus on content corrections. I have yet to figure out a great way to get students to critique this themselves or for their peers. Suggestions? Add them in the comments below.

Tuesday, February 10, 2015

Team Grading

Group projects are (despite student beliefs) quite a headache as a teacher. Without being there for the inner-workings of each of the groups, it's difficult to fairly and accurately assign points.

How do you know who's caring the burden of the work?

How do you fairly grade?

Well, one strategy I'm trying for the first time is what I call "team grading." Here's how I did it:

I divided the total project points - 50 assessment points - into two categories. I allotted 30 of those points to the group presentation my students were working on. This grade will be the same for every student and I'm considering this their achievement grade.. The remaining 20 points are where they will team assess. This will be their effort grade. I gave the following directions to my students:

Your responsibility is to justly, fairly, and with the best interests of your teammates at heart, divide the points based on who did the work for this presentation. There are a total of 20 points per person (so if your group has 5 members, 5x20=100 points, or 6 members =120 or 7 = 140).

Rules:
1.       You may use no more than your total points, but you can use less.
2.       If you can tell the person did not read, they cannot receive more than 15/20 (75%).
3.       Everyone who participated (even if they did not meet all their responsibilities) must get at least 10 points.
4.       Only if someone was never a participant can you give them a zero.
5.       Be fair and reasonable. 

There were some interesting responses that I received. I forced students to complete this grading together, but I had one group with some serious animosity toward one another. After getting an insincere response from them, I gave them each an individual sheet to fill out. This garnered much more realistic responses and helped me get to the heart of what had happened to create their negative group dynamic.

You can access the full document for downloading on my dropbox.

Sunday, February 8, 2015

Exit Tickets - Self-Assessment

One of the key tenants of my classroom is student self-assessment. At nearly every turn, I have students tell themselves and me what they know and how much they know of what we're learning. On summative assessments, this is literally self-grading. But on a daily level, I use student exit tickets for us to assess their learning.


Here's what my Exit Ticket Buckets look like!

There's an accompanying poster with the following:

Blue = Above average! I could teach someone else how to do this.

Green = I've got it! I know what we're talking about, without looking at notes.

Orange = I've nearly got it! I know what we're talking about with notes or with help.

Red = I need help. I have questions or need more information.

Of course - these could be made in any color. You could make three, four, five. I have four because it speaks to the language of proficiencies in Nevada, where there are four levels.


So, here's the brief tutorial on how to make these exit tickets.

First, buy four boxes of cereal. I bought "family sized" boxes so they would be larger. Remove the cereal (eat, enjoy! Or, save them in your desk drawers for the first time a student is hungry - that's what I do!).

Step 1: Prepare the box

If you cut one of the long ends off the box, it will have a small flap at the back (you can see it in this picture). It is also important to tape up the top end where you normally pour your cereal. It would not be misguided to tape up all three sides - cereal boxes are rather weak.


Step 2: Wrap the box

I use the word "wrap" here very literally. You'll need to actually wrap this like a present in order for it to work.

As you fold (first photo) put the corners of the flaps inside the box. It will keep your lines clean and the inside of the box uncrowded.

Keep wrapping the box as a present, folding in all the sides to the inside of the box.
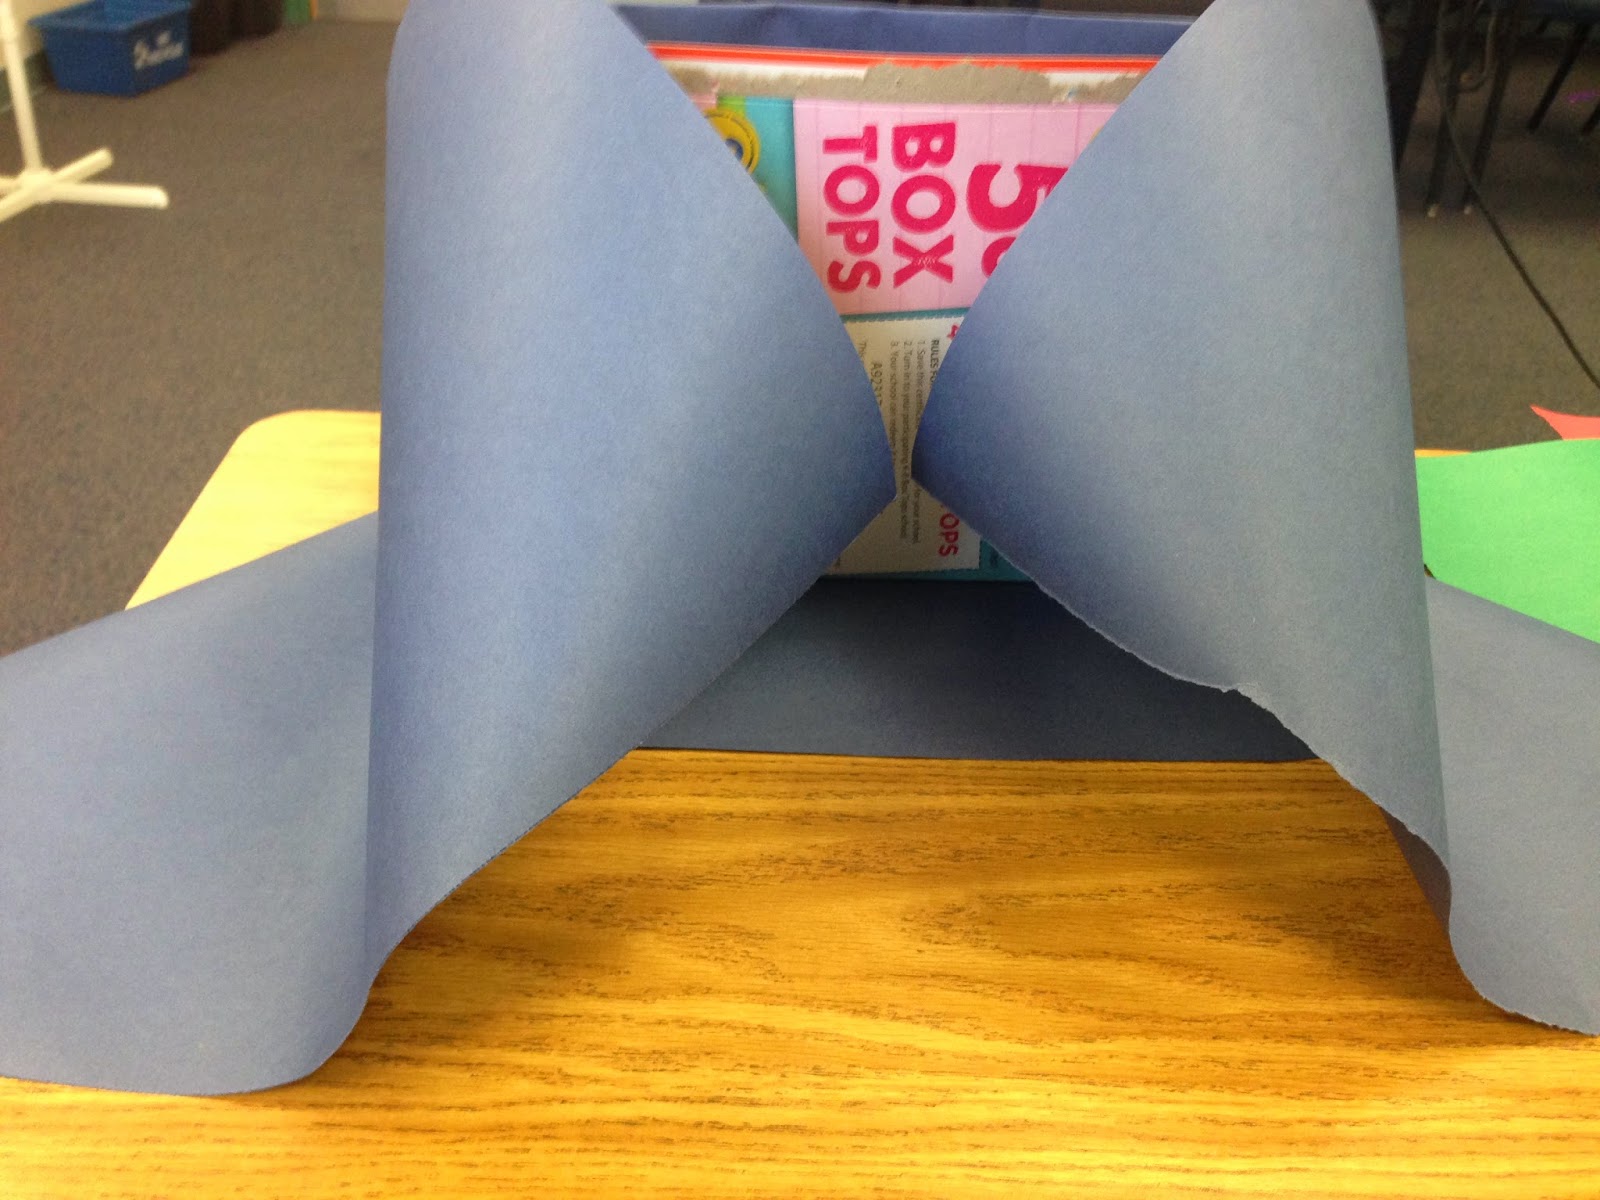
When you reach the back (second photo), you will have to be very careful to pull the paper tightly.

Remember - it's just paper! So if you mess up, you can start over and continue working on them until you've got it.


Step 3: Repeat with all boxes

A finished box will look like this. Go ahead and repeat for however many boxes you need.


Step 4: Hang the boxes and post your sign


Step 5: Teach this procedure to your students

I introduce this on the second day of class and start teaching students how to use it. We look at our daily exit tickets (simple things at first) each day and compare them to sample answers from each of the four categories. I've found that by giving students examples of what it means to master and excel at different exit tickets, I get more honest responses later in the year. When we get to the difficult stuff, they are realistic about their mastery. 

This is also a great tool for you as a teacher - it is easy to see where misunderstandings are happening from your self-assessed lower students and to find exemplars to use in your modeling - I love to show great student writing whenever possible! 

Questions or comments for me? Use something similar? Post them below!