Here's what my Exit Ticket Buckets look like!

There's an accompanying poster with the following:
Blue = Above average! I could teach someone else how to do this.
Green = I've got it! I know what we're talking about, without looking at notes.
Orange = I've nearly got it! I know what we're talking about with notes or with help.
Red = I need help. I have questions or need more information.
Of course - these could be made in any color. You could make three, four, five. I have four because it speaks to the language of proficiencies in Nevada, where there are four levels.
So, here's the brief tutorial on how to make these exit tickets.
First, buy four boxes of cereal. I bought "family sized" boxes so they would be larger. Remove the cereal (eat, enjoy! Or, save them in your desk drawers for the first time a student is hungry - that's what I do!).
Step 1: Prepare the box

If you cut one of the long ends off the box, it will have a small flap at the back (you can see it in this picture). It is also important to tape up the top end where you normally pour your cereal. It would not be misguided to tape up all three sides - cereal boxes are rather weak.

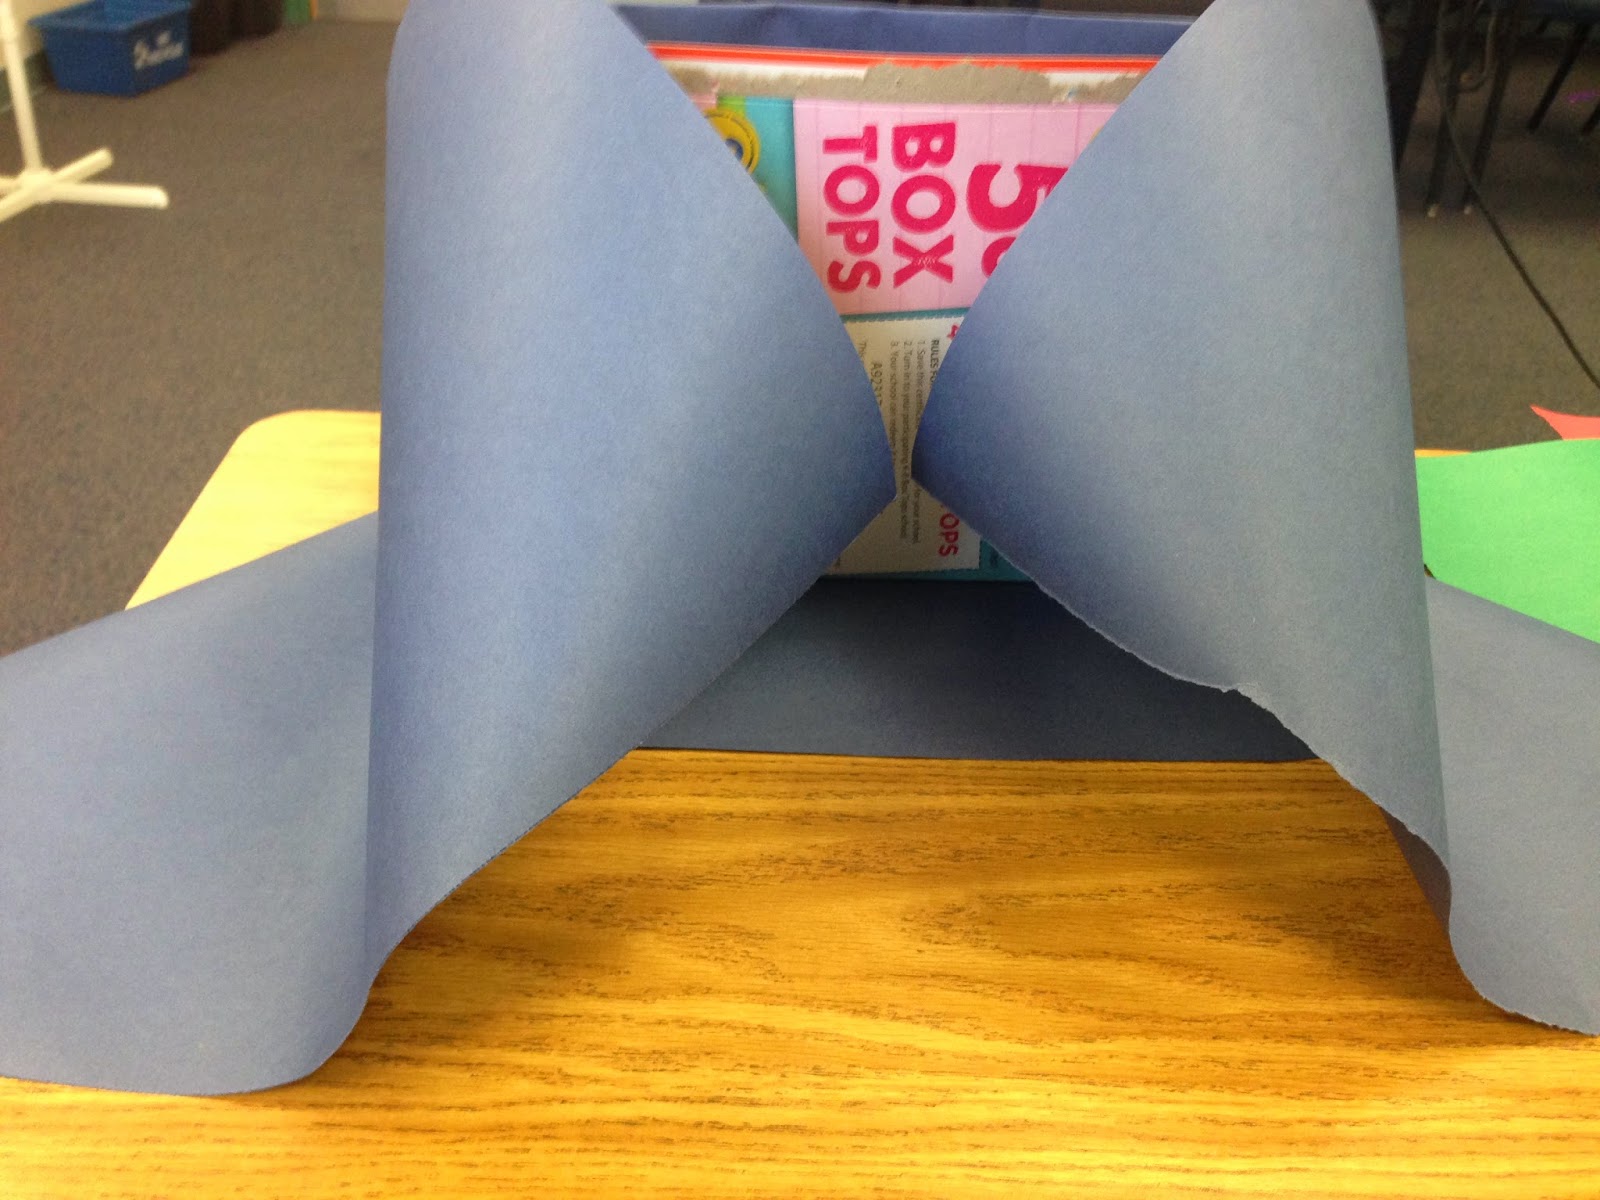
I use the word "wrap" here very literally. You'll need to actually wrap this like a present in order for it to work.
As you fold (first photo) put the corners of the flaps inside the box. It will keep your lines clean and the inside of the box uncrowded.
Keep wrapping the box as a present, folding in all the sides to the inside of the box.
When you reach the back (second photo), you will have to be very careful to pull the paper tightly.
Remember - it's just paper! So if you mess up, you can start over and continue working on them until you've got it.
Step 3: Repeat with all boxes
A finished box will look like this. Go ahead and repeat for however many boxes you need.

Step 4: Hang the boxes and post your sign
Step 5: Teach this procedure to your students
I introduce this on the second day of class and start teaching students how to use it. We look at our daily exit tickets (simple things at first) each day and compare them to sample answers from each of the four categories. I've found that by giving students examples of what it means to master and excel at different exit tickets, I get more honest responses later in the year. When we get to the difficult stuff, they are realistic about their mastery.
This is also a great tool for you as a teacher - it is easy to see where misunderstandings are happening from your self-assessed lower students and to find exemplars to use in your modeling - I love to show great student writing whenever possible!
Questions or comments for me? Use something similar? Post them below!
No comments:
Post a Comment
Please share your comments, questions, or concerns below. More than anything, be kind to fellow blog-readers and commenters.